Project 2 Do It Yourself: In 3D
Project Brief
Client
Notes
I must create a story driven animation that fits the entry criteria
that I am entering for a local Scottish animation festival.
Entry Essential criteria:
·
Create an animated short of no more than one
minute
·
The animated short must be family friendly. E.g.
contains no profanity, drug use, sexual themes etc.
·
Character based, story driven film
·
Minimum of one 3D environment
·
Minimum of at least one music track
·
Minimum of at least one synced to action sound
effect
Optional Desired Criteria:
- Can be a linear or non-linear narrative
(Can involve use of flashbacks etc.)
- Give thought to the mood and atmosphere by
using lighting and colour theory to convey emotions.
- Give consideration to the various
animation principles that can be incorporated into movement etc. to give
the animation more credibility with the audience as a living world.
I am entering a short animation that I’ve created into a local Scottish
animation festival. The category that I’m submitting for is the short narrative
(shorts under a minute) field which will showcase a range of films created from
UK based animators and filmmakers.
My target demographic is going to be for a younger audience,
predominantly six years plus, as there will be a small child as the main
character. He will perform magic tricks which may or may not apply to an older,
more sceptical audience. A good example of another animation that captures a
similar sort of magical aesthetic that I will implement is the Disney/Pixar
short ‘Presto’.

Image 1: Disney/Pixar’s Presto (2008)

There will be some adult tones implied though, as the young child will
be living in a single parent home, struggling to get the attention of the
remaining parent by performing magic tricks, and being rather unsuccessful in
the attempts. This post-modernistic aspect will attract a more mature audience
too as they can read between the lines to see what is really going on within
the home.
The animation I will create will reach as wide an audience as possible.
To reach this goal, I won’t be including any content that can be construed as
offensive, as I will not be including any violence, profanity or other themes
not suitable for a younger audience.
The short will most likely not be shown on television but there is a
chance that it will appear online, either as part of the festivals show-reel or
in my own personal portfolio.
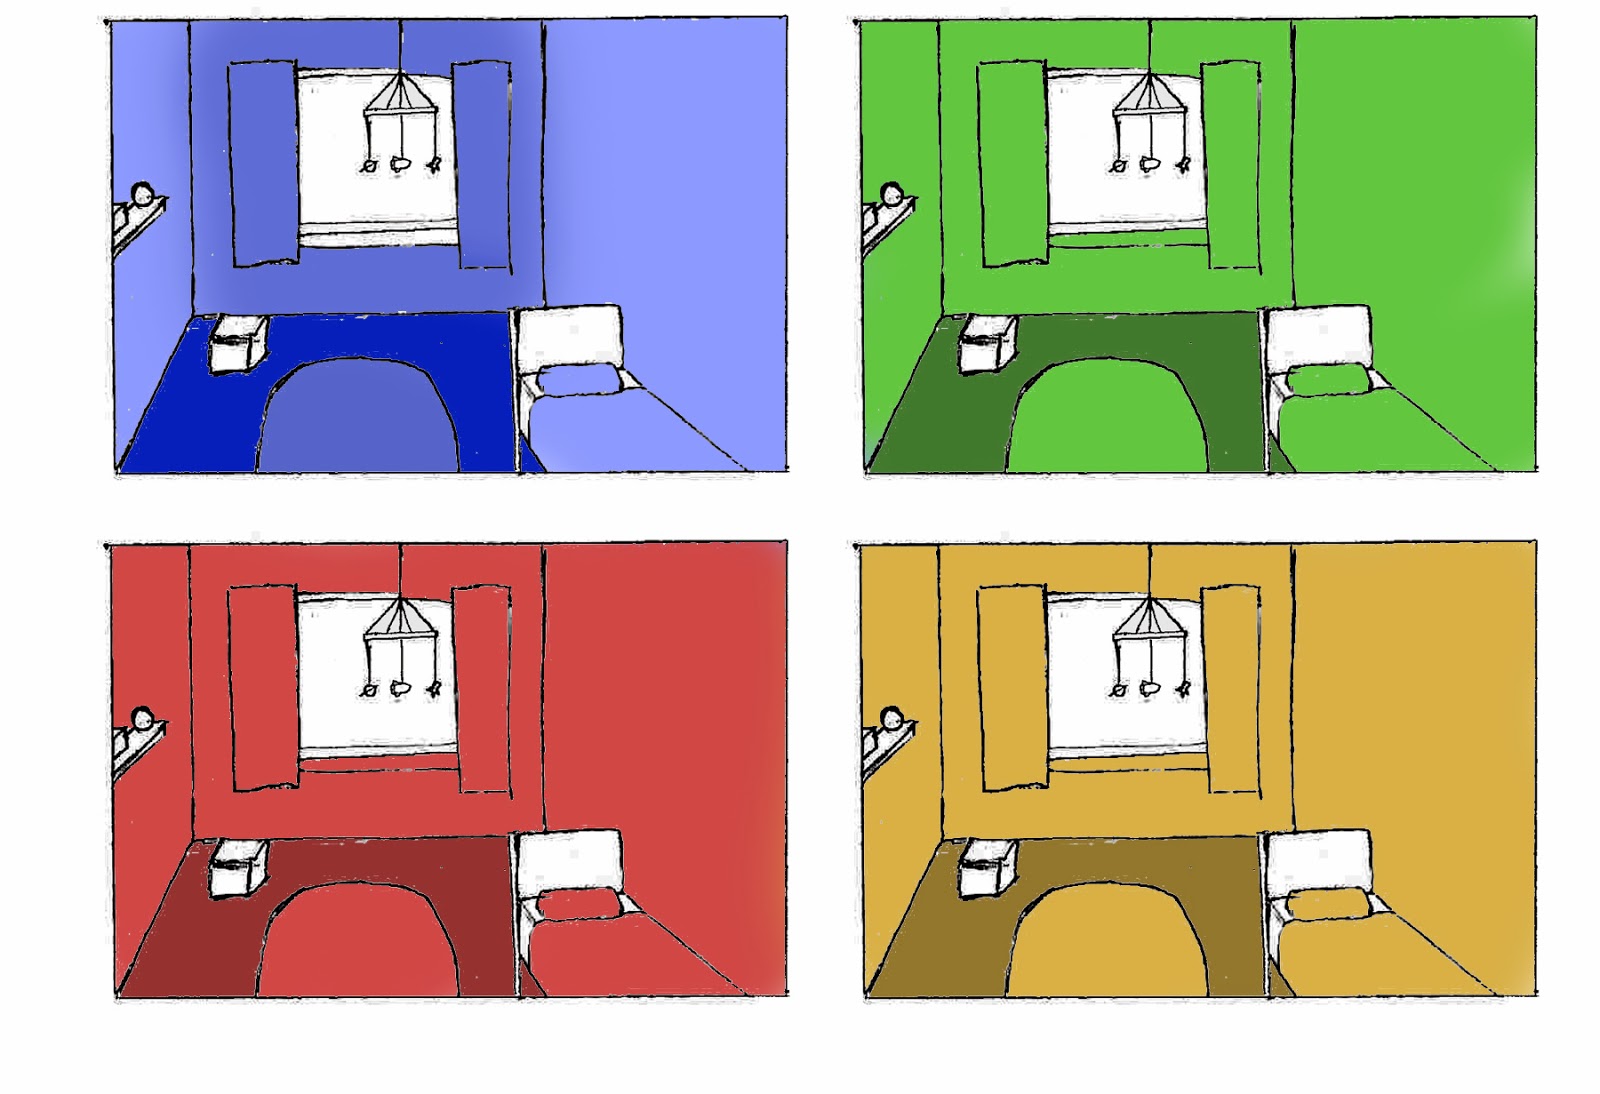
A lot of time will be spent creating a stylistic short film that has a
lot of emphasis on colour and various different lighting techniques. There will
be, for example a lot of contrast between the colours shown on screen,
depending on the characters mood. When he is happy, I will use warmer colours
such as yellows and oranges. On the other hand, when my character is feeling
sad, lonely or distressed, I will focus on showing colder colours, like blues
and purples. This can also be said for my use of lighting. An example of high
contrast lighting and colours that create a tense atmosphere can be found in
the fish tank initiation scene in the Pixar animated feature film ‘Finding
Nemo’.In the film, the characters are in a very dark blue environment with
orange and red lighting highlighting the facial features. This contrasting combination of colours sets
the audience on edge and serves to add to the atmosphere of the scene.

In my animation, the happy scenes will be much
brighter in comparison to the much darker unhappy scenes. I will explore colour
theory to make sure that I am using colours at the opposite sides of the colour
wheel (complimentary colours) which will further emphasise the contrast in
emotion.
Image 2: Pixar’s Finding Nemo (2003)
I will go into finer detail of these aspects in my full treatment.
For this animation, I believe an essential aspect of the production
that must be considered is the sound of the animation. As there will be very
little voice overs present, both the characters actions and the sounds that are
made are vital to keep the story flowing. Half of the final product presented
will be sound so I will create a sound plan which will detail the required
sound effects, Foley, voice overs and music bed.
Plan A: Create all of the assets in 3D, using modelling and animation software
such as Autodesk 3DStudio Max, as per the essential criteria of the festival.
Plan B: If certain parts of the production are of little importance to
the narrative and/or time becomes a factor, I will create features (such as
background props) in 2D using software such as Adobe Photoshop, Flash and After
Effects.
References:
Cotta Vas, Mark. “The Art of Finding
Nemo” [Published by Chronicle Books LLC, 2003] Set Lighting: Scene Detail,
Pages 120,121
Disney/Pixar, “Presto”, 2008. [Online
Video] - https://www.youtube.com/watch?v=a0DqCxYfeT0
Accessed 18/09/2013
Noyer, Jeremie, 2011 “The Art Of
Pixar – The Complete Color Scripts And Select Art From 25 Years Of Animation:
an Interview with author Amid Amidi” [ONLINE INTERVIEW] http://animatedviews.com/2011/the-art-of-pixar-the-complete-color-scripts-and-select-art-from-25-years-of-animation-an-interview-with-author-amid-amidi/
Accessed 18/09/2013
Image References:
Image 1: Disney/Pixar’s Presto (2008) - [ONLINE
IMAGE] - http://www.comingsoon.net/nextraimages/presto5.jpg
Accessed 18/09/2013
Image 2: Pixar’s Finding Nemo (2003) - [ONLINE
IMAGE] - http://i1.ytimg.com/vi/gITf-xoWgfc/hqdefault.jpg
Accessed 18/09/2013
Project
2 Do It Yourself: In 3D
Amended Project
Brief
Client Notes
I must create a story driven animation that fits the entry criteria
that I am entering for the Scotland Loves Animation festival in Glasgow.
Entry Essential criteria:
·
Create an animated short of no more than one
minute
·
The animated short must be family friendly. E.g.
contains no profanity, drug use, sexual themes etc.
·
Character based, story driven film
·
Minimum of one 3D environment
·
Minimum of at least one music track
·
Minimum of at least one synced to action sound
effect
- Be aware of the mood and atmosphere whilst
using lighting and colour theory to convey emotions.
- Give consideration to the various animation principles that can be incorporated into movement etc. to give the animation more credibility with the audience as a living world
Optional Desired Criteria:
- Can be a linear or non-linear narrative (Can involve use of flashbacks etc.)
I am entering a short animation that I’ve created into the Scotland
Loves Animation festival. The category that I’m submitting for is the short
narrative (shorts under a minute) field which will showcase a range of films
created from UK based animators and filmmakers.
My target demographic is going to be for a younger audience,
predominantly six years plus, as there will be a small child as the main
character. He will perform magic tricks which may or may not apply to an older,
more sceptical audience. An example of a previous winner of the festival is
Patema Inverted in October 2013.
.jpg)
Image 1: Patema Inverted. (2013)
There will be some adult tones implied in my project though, as the
young child will be living in a single parent home, struggling to get the
attention of the remaining parent by performing magic tricks, and being rather
unsuccessful in the attempts. This more grown up attitude will attract a more
mature audience too as they can read between the lines to see what is really
going on within the home.
The animation I will create will reach as wide an audience as possible
which will help my chances at winning the festival if the short is as appealing
as possible. To reach this goal, I won’t be including any content that can be
construed as offensive, as I will not be including any violence, profanity or
other themes not suitable for a younger audience.
The short will most likely not be shown on television but there is a
chance that it will appear online, either as part of the festivals show-reel or
in my own personal portfolio. When the short is displayed online this will
potentially garner a high yield of viewers.
A lot of time will be spent creating a stylistic short film that has a
lot of emphasis on colour and various different lighting techniques. I’m
looking to create a simple aesthetic that gets the point across. Nothing to
flashy that is too time consuming and adds little to the final product such as
particle effects, hair and fur modifiers etc. I will focus instead on conveying
emotion.
There will be, for example a lot of contrast between the colours shown
on screen, depending on the characters mood. When he is happy, I will use
warmer colours such as yellows and oranges. On the other hand, when my
character is feeling sad, lonely or distressed, I will focus on showing colder
colours, like blues and purples. This can also be said for my use of lighting
In my animation, the happy scenes will be much brighter in comparison
to the much darker unhappy scenes. I will explore colour theory to make sure
that I am using colours at the opposite sides of the colour wheel (complimentary
colours) which will further emphasise the contrast in emotion.
I will go into finer detail of these aspects in my full treatment.
For this animation, I believe an essential aspect of the production
that must be considered is the sound of the animation. As there will be very
little voice overs present, both the characters actions and the sounds that are
made are vital to keep the story flowing. Half of the final product presented
will be sound so I will create a sound plan which will detail the required
sound effects, Foley, voice overs and music bed.
Plan A: Create all of the assets in 3D, using modelling and animation software
such as Autodesk 3DStudio Max, as per the essential criteria of the festival.
Plan B: If certain parts of the production are of little importance to
the narrative and/or time becomes a factor, I will create features (such as
background props) in 2D using software such as Adobe Photoshop, Flash and
After Effects.
References:
Partridge, A., PATEMA INVERTED WINS AT SCOTLAND LOVES ANIME
Noyer, Jeremie, 2011 “The Art Of Pixar – The Complete Color Scripts
And Select Art From 25 Years Of Animation: an Interview with author Amid
Amidi” [ONLINE INTERVIEW] http://animatedviews.com/2011/the-art-of-pixar-the-complete-color-scripts-and-select-art-from-25-years-of-animation-an-interview-with-author-amid-amidi/
Accessed 18/09/2013
Tokyo
Otaku Channel, Patema Inverted Trailer [YOUTUBE] Available at: http://www.youtube.com/watch?v=xOnfL8OcJ_M&feature=youtu.be
Accessed 18/12/2013
Image References:
Image 1: Patema Inverted (2013) Available at: http://www.lovesanimation.com/wp-content/uploads/2013/08/Patema_sab3-930x300.jpg
Accessed 18/12/2013

Character Backstory
In the beginning, we are shown a livingroom with broken empty alcohol bottles strewn around the floor. There is an old newspaper clipping with a headline of "part time magician/Soldier missing in action". We then see a woman hand lying across an armchair of couch, passed out drunk.
We then head upstairs to visit our main character.
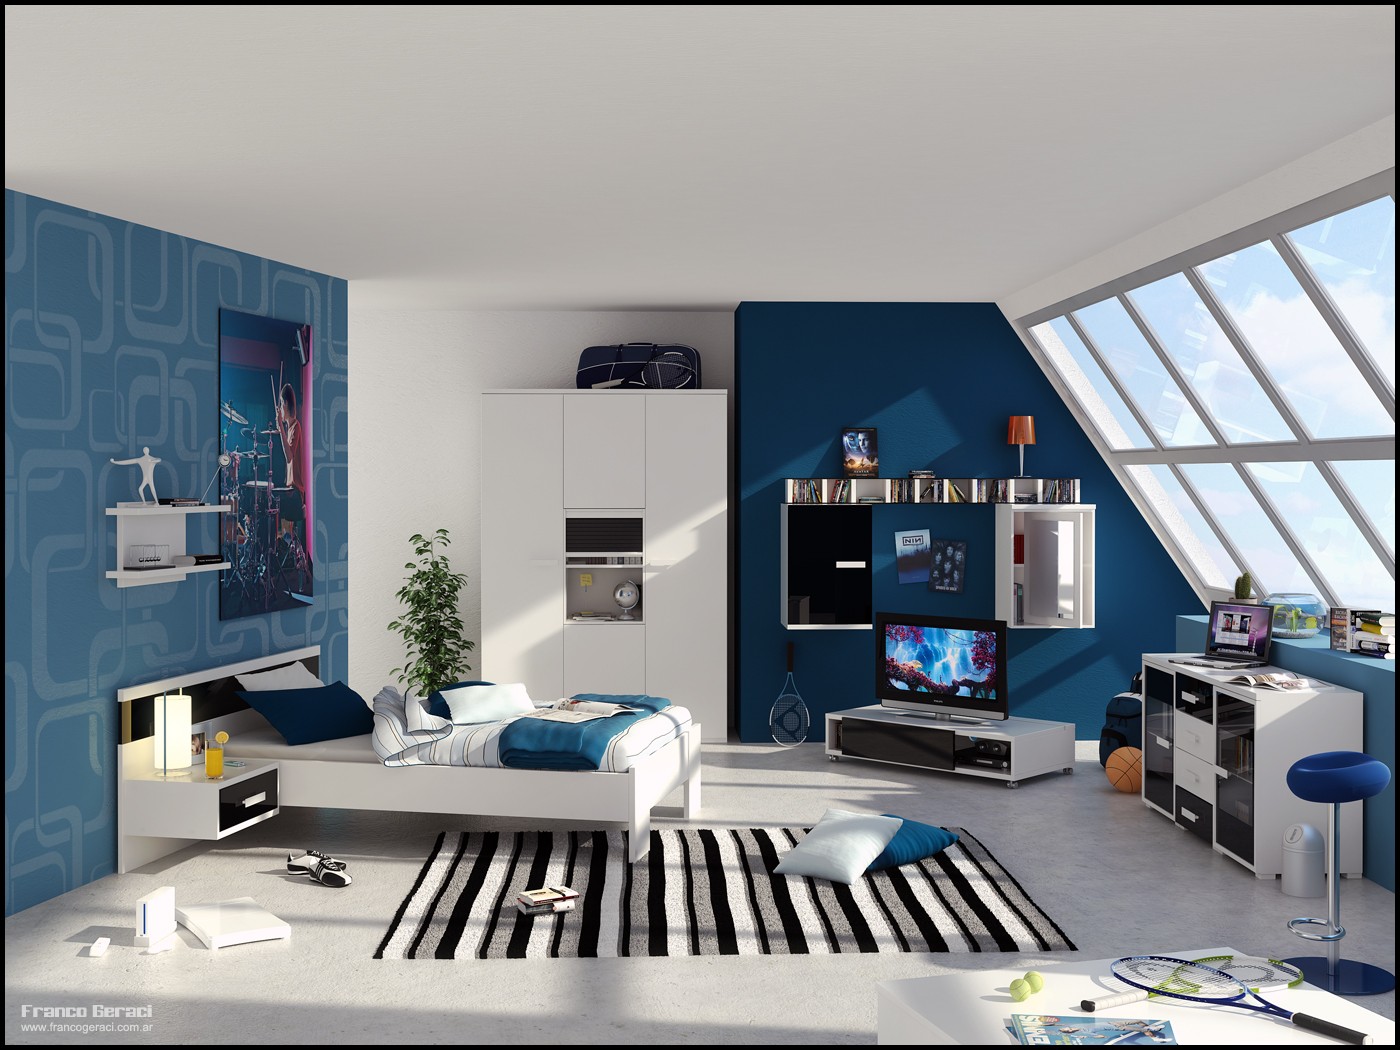
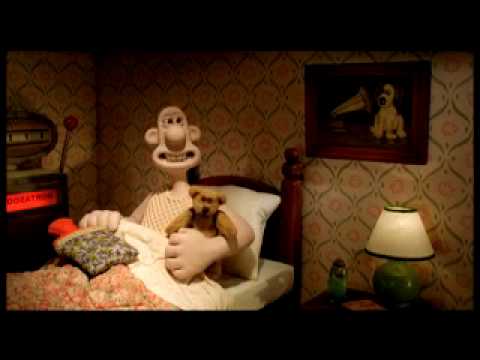
The story begins as Max wakes up in his bed. His room is very tidy
and well furnished with a wooden wardrobe, dresser and single bed. The colour
scheme in the room can be described as blues and whites. A warm light filters through the window.
Max
spots a photograph of his father and himself. Coldness seems to fill the room
as Max picks up the frame, sadly. The light filtering through the window is
bluer now to convey Max's sadness.
Max can be described as small for his age, with a large head that
makes up about a third of his height. With the exception of his large green
eyes, Max's other facial features are very slight in comparison. In
creating the character, I have placed a lot of emphasis on his eyes, more so
than the rest of his face because I believe that the eyes can convey so much more
emotion. For example, the characters eyes can be manipulated in a way that they
could show fear, anger and even joy and happiness without having to vocally
make these feelings known.
The attire that Max wears can be described as worn and baggy. His
clothing may have been handed down from an older sibling who no longer resides in
the same home or are second hand. Max continued to live
with his mother who has suffered from heavy bouts of depression since the
father has gone missing. Max misses his father terribly.
Max wears a large blue woollen jumper that is several sizes too big
and hangs down almost to his knees, the sleeves are continually draping over
his hands (sort of like a wizards sleeves) and he often can be seen adjusting
them. Max has short, messy black
hair. Because of his large eyes and head, Max is a very cute little
character who captures the heart of the audience by being an innocent child
caught in a broken home.
Max will not be making any vocalisations as I want the character to
be able to express himself visually by utilising the way he moves and the
facial expressions he makes to convey his emotional state.
Max hugs his photo before replacing it back on his bedside table.
He becomes determined to find his father. He hops across the room in anticipation of his idea. Max is very childlike in the
way he moves. Every movement can be described as a hop, skip or a jump.
Max collects his father's old magic set and wand, then puts on his magic hat. He proceeds to practice by enchanting various objects in his room, such as a space mobile which he makes spin and a toy train which flies around. He gets the confidence to cast a spell on the picture of his father, which expoldes in a bright flash of light. He is momentarily blinded and when he opens his eyes, Max's father is there. He swiftly dissappears, but this does not dishearted Max. He tries again to bring him back.
Max collects his father's old magic set and wand, then puts on his magic hat. He proceeds to practice by enchanting various objects in his room, such as a space mobile which he makes spin and a toy train which flies around. He gets the confidence to cast a spell on the picture of his father, which expoldes in a bright flash of light. He is momentarily blinded and when he opens his eyes, Max's father is there. He swiftly dissappears, but this does not dishearted Max. He tries again to bring him back.
Inspirational Works
The following is a collection of other animations that inspire me in this project.
Disney/Pixar's - Presto (2008)

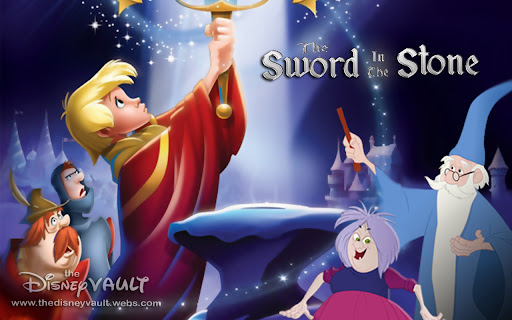
Disney's - The Sword in the Stone (1963)

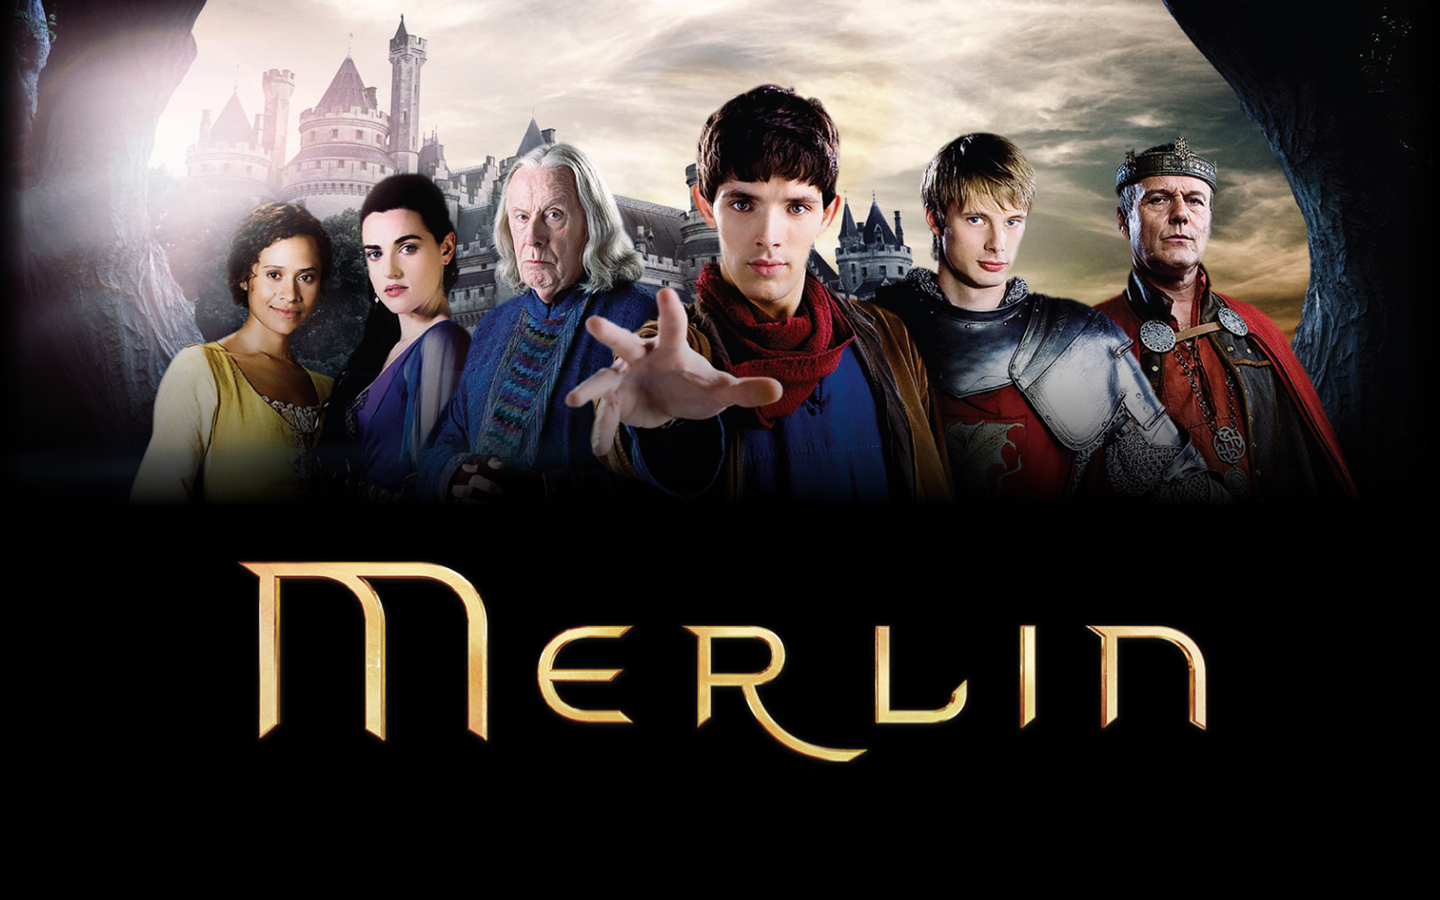
BBC's Tv Series - Merlin (2008-2012)
Primary Research - Magic
The video above was a research project I created to try to replicate how some magic can be achieved through the use of cleverly timed video editing. I took one continuous video of myself snapping my fingers then changing positions and snapping them again. Afterwards, I used Adobe Premiere Pro to edit my 'snaps' together, thus giving the illusion I was magically snapping my fingers and moving about in a way a normal human could not.
The video above was my first attempt at creating a magical illusion using video editing. The secret? I shot a video of myself ripping up some paper, then I simply reversed the film for playback. It now looks like the paper is magically jumping into my hands as I knit the paper back together.
Moodboards

Mood
Board: Image References:
Magic Wand with Sparkles – Accessed 25/09/2013 - http://www.royalhigh.edin.sch.uk/departments/departments/cdt/ahgc_0708/various/mark_wand1b.jpg
Tinkerbell – Accessed 25/09/2013 - http://images2.fanpop.com/images/photos/6200000/Tinkerbell-Wallpaper-tinkerbell-6227161-1024-768.jpg
Vivi – Accessed 25/09/2013 - http://www.paperspencils.com/wp-content/uploads/2012/07/final-fantasy-ix-vivi-wallpaper-magic.jpg
Lego Gandalf – Accessed 28/09/2013 - http://www.minifigure.org/wp-content/uploads/2011/05/wizard_s.jpg
Lego Harry Potter – Accessed 25/09/2013 - http://mentalgamers.files.wordpress.com/2011/09/lego-harry-potter-5-7.jpg
Harry Potter – Accessed 25/09/2013 - http://www.empireonline.com/images/features/100greatestcharacters/photos/36.jpg
Card – Accessed 25/09/2013 - http://www.softwarecraftsman.org/_/rsrc/1226071718375/Home/magic-trick/iTunesArtwork.png
Magic Hat and Wand – Accessed 25/09/2013 - http://ipfactor.files.wordpress.com/2011/11/magic-trick.gif
Presto – Accessed 25/09/2013 – http://www.thepixarpodcast.com/wp-content/uploads/2010/10/presto025in6.jpg
Magic Hat – Accessed 25/09/2013 - http://upload.wikimedia.org/wikipedia/en/1/1f/Magic_Wizard's_Hat_(icon).png
.png)
Merlin_official.jpg – Accessed 18/09/2013 - http://images1.wikia.nocookie.net/__cb20120320065321/disney/images/5/56/Merlin_official.jpg
Merlin Old.png - Accessed 18/09/2013 - http://images4.wikia.nocookie.net/__cb20120211004023/merlin1/images/3/33/Old-Merlin_series4promo.jpg
Gandalfthegrey - Accessed 18/09/2013 - http://static.comicvine.com/uploads/original/7/72648/1716330-gandalfthegrey.jpg
Wizard12.gif – Accessed 18/09/2013 - http://www.exponentcms.org/files/WIZARD12.GIF
Derren Brown – Accessed 19/08/2013 - http://www.theatrepeople.com/sites/default/files/Derren-Brown-2.jpg
Dynamo – Accessed 19/08/2013 - http://i.dailymail.co.uk/i/pix/2012/06/28/article-2165482-13D4E4BE000005DC-231_634x440.jpg
Wand – Accessed 21/09/2013 - http://www.magicbox.uk.com/media/catalog/product/cache/1/image/9df78eab33525d08d6e5fb8d27136e95/m/a/magic_wand.jpg
Star wand – Accessed 21/09/2013 - http://blisshabits.com/wp-content/uploads/2011/11/Magic-Wand.jpg
Magic Hand – Accessed 21/09/2013 - http://www.benzo-fury.me.uk/images/magic.jpg

Character Mood Board: Image
References:
Wizards Robe Blue – Accessed 25/09/2013 - http://www.ancientcircles.com/clothing/Men/graphics/robewizardlrg.jpg
Wizards robe blue stripe – Accessed 25/09/2013 - http://www.daz3d.com/media/catalog/product/cache/1/image/9df78eab33525d08d6e5fb8d27136e95/w/i/wizard-robes-for-m3-0.jpg
Girl shy - Accessed 25/09/2013 - http://smallpressworld.com/blog/wp-content/uploads/2012/07/shy21.jpg
Boy with cake - Accessed 25/09/2013 - http://fc04.deviantart.net/fs70/i/2013/078/d/5/contest_entry___chibi_boy_by_edaherz-d5yk8sc.png
Cat Eared Boy – Accessed 25/09/2013 - http://fc00.deviantart.net/images/i/2003/11/4/9/Chibi_Kitty_Boy.jpg
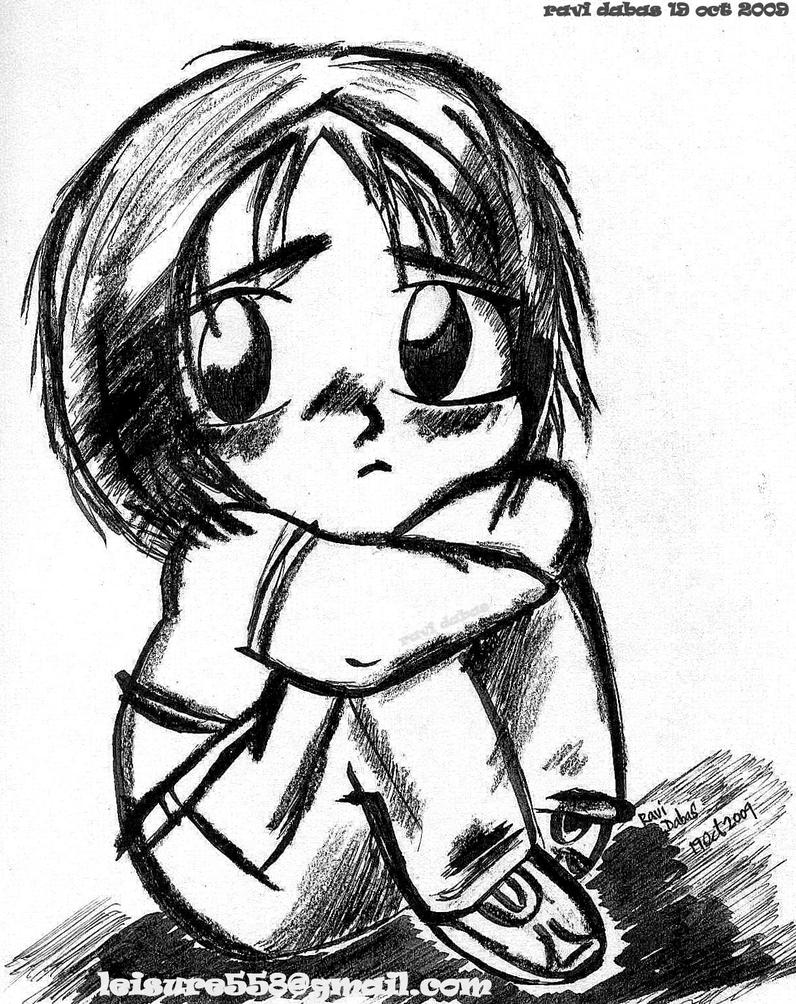
Sad Boy – Accessed 25/09/2013 - http://fc01.deviantart.net/fs71/i/2010/347/5/3/cute_chibi_boy_by_dexyshadow-d34ssmh.jpg
Red stripe boy – Accessed 25/09/2013 - http://th00.deviantart.net/fs70/PRE/f/2013/141/0/1/_art_trade__chibi_hat_boy_by_chibimikokit-d663d2l.png
Link – Accessed 25/09/2013 - http://www.webdesignburn.com/wp-content/uploads/2012/09/LOZ-Chibi-Link.png
Sad hand drawn chibi – Accessed 25/09/2013 - http://th04.deviantart.net/fs71/PRE/i/2010/144/5/0/very_sad_boy_by_rdx558.jpg
Sad boy photo – Accessed 25/09/2013 - http://fc04.deviantart.net/fs71/i/2010/263/b/c/sad_boy_by_xq2r-d2z596c.jpg
Harry Potter - Accessed 25/09/2013 - http://i1.cdnds.net/11/25/550w_movies_harry_potter_daniel_radcliffe_1.jpg
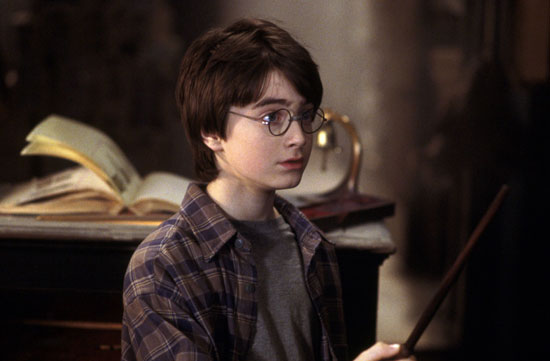
Boy
Wizard – Accessed 25/09/2013 - http://www.kidshalloweencostumes4u.com/pimages/large/magic-wizard-costume.jpg

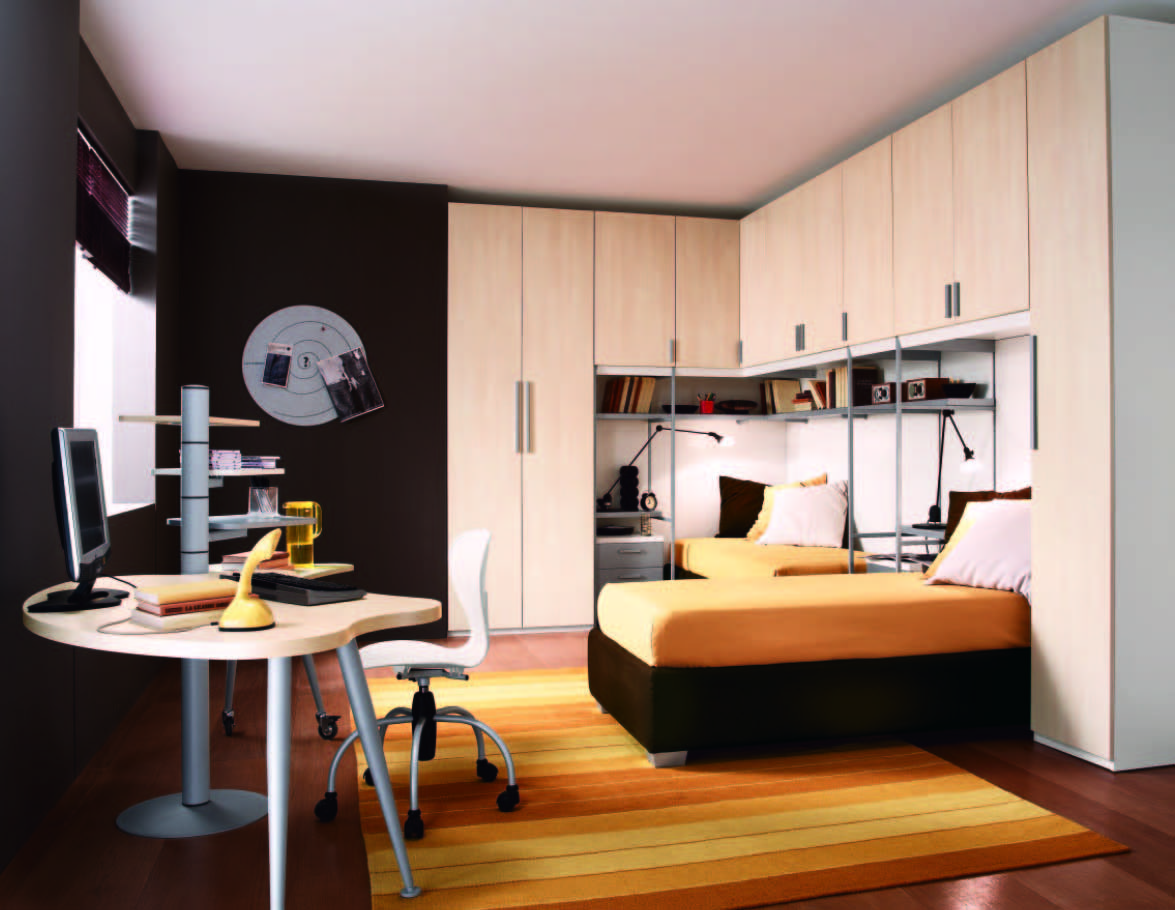
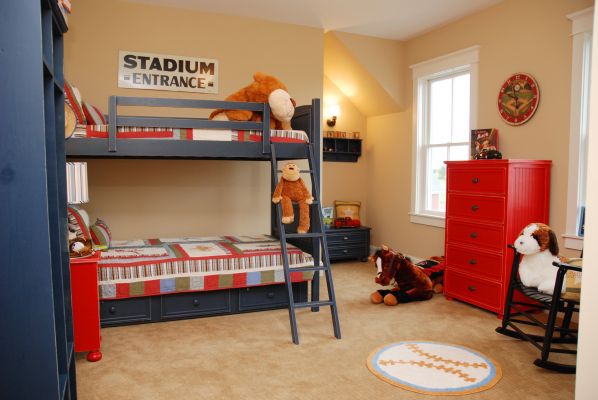
Environment
Mood Board: Image References:
Bedroom 1 – Accessed 25/09/2013 - http://www.home-designing.com/wp-content/uploads/2011/11/Boys-Room.jpg
Bedroom 2 - Accessed 25/09/2013 - http://www.home-designing.com/wp-content/uploads/2010/08/Built-in-storage-in-Bedroom.jpg
Bedroom 3 - Accessed 25/09/2013 - http://www.hosowo.com/wp-content/uploads/2013/04/Boys-Room-Decor-Ideas.jpg
Bedroom 4 – Accessed 25/09/2013 - http://blog.qualitybath.com/wp-content/uploads/2011/07/Boys-Theme-Bedroom.jpg
Bedroom 5 – Accessed 25/09/2013 - http://afloor.co.uk/blog/wp-content/uploads/2011/09/barnes_vanze-boys-room.jpg
Bedroom 6 – Accessed 25/09/2013 - http://homeroomidea.com/wp-content/uploads/2012/10/Blue-Sky-Best-Painting-Ideas-for-Boy-Room.jpg
Bedroom 7 – Accessed 25/09/2013 - http://liftupthyneighbor.com/wp-content/uploads/79dcc__teenage-room-design-ideas-for-boys-3.jpg
Bedroom 8 – Accessed 25/09/2013 - http://picklemedia1.scrippsnetworks.com/pickle_media1/media/HGTV/090128/Photo_Video_419770506_medium.jpg?0
Space Mobile – Accessed 25/09/2013 - http://img2.etsystatic.com/000/0/5570166/il_fullxfull.172663394.jpg

Mood Board: Image References
Colour Wheel - http://www.tigercolor.com/color-lab/color-theory/images/color-wheel-300.gif
Accessed 01/10/2013
Finding Nemo - http://i1.ytimg.com/vi/gITf-xoWgfc/hqdefault.jpg
- Accessed 01/10/2013
Psychology of colours wheel - http://mylifemystuff.files.wordpress.com/2012/04/emotional-and-psychological-meaning-of-colours.jpg
Accessed 01/10/2013
Tree hugger - http://i1.tribune.com.pk/wp-content/uploads/2013/09/605705-image-1379442145-371-640x480.JPG
Accessed 01/10/2013
Boy in the woods - http://carolinasobral.files.wordpress.com/2013/01/btooom-01.png
Accessed 01/10/2013
Fear girl orange - http://media.animevice.com/uploads/1/18405/581425-btooom___01___large_21.jpg
Accessed 01/10/2013
Elric Brothers Happy Blue - https://blogger.googleusercontent.com/img/b/R29vZ2xl/AVvXsEgCos8mNt2sgqr75OhTbrRCAdbDMxq3FfdCwFNXpMP7zm3M8h3cc9CX86nxorNuJ5Am7l59H_bNs_kezD1oTGn3C-ROn1EZmDlKkL8Ajqj93D6Uppasa1AAYsgYE5q_2Dx2_8dkXDBqGbIP/s1600/edward_and_alphonse_elric.jpg
Accessed 01/10/2013

Boys
Bedrooms Mood Board : Image References:
Despicable Me - http://images.wikia.com/despicableme/images/1/1c/The_Girls'_Bedroom_in_Despicable_Me_2.jpg
Accessed 02/10/2013
Frankenweenie - http://www.insidethemagic.net/wp-content/uploads/2012/06/bedroom.jpg
Accessed 02/10/2013
Simpsons - http://fc02.deviantart.net/fs6/i/2005/062/f/5/Simpsons_household__Barts_room_by_LupineWarlord.png
- Accessed 02/10/2013
Pre Production
Character Design


Walk Cycle Test
Character Model Sheets

Environment Design


Environment Colour Schemes
Thumbnails

Storyboards

Scene 001 - Living room - Opening
Cam 001 - Frame 0-125 - 5 seconds - 5 seconds
Camera moves from newspaper to mothers hand
Camera moves from newspaper to mothers hand


Cam 002 - Frame 126-225 - 4 seconds - 9 seconds
Camera pan up the stairs
Camera pan up the stairs


Scene 002 - Bedroom - Frame
Cam 003 - Frame 226-275 - 2 seconds - 11 seconds
Camera sees Max through bedroom doorway
Camera sees Max through bedroom doorway


Close up Max sad holding frame

Cam 005 - Frame 326-450 - 5 seconds - 18 secs
Camera above bed. Max pulls out and opens chest


Scene 004 - Gearing up
Cam 006 - Frame 451-525 - 3 secs - 21 secs
Max pushes sleeve whilst holding wand and put on magic hat.


Scene 005 Train Spell
Cam 007 - Frame 526 - 575 - 2 secs - 23 secs
Max casts spell on toy train. Front view

Cam 008 - Frame 576 - 625 - 2 secs - 25 secs
Over shoulder view, train flying off.


Scene 006 Mobile spell
Cam 009 - Frame 626 - 725 - 4 secs - - 29 secs
Max casts spell on Mobile and it spins rapidly.
Max casts spell on Mobile and it spins rapidly.

Scene 007 Building power
Cam 010 - 726 - 800 - 3 secs - 32 secs
Max shouts and builds a powerful spell


Scene 008 Focus On frame
Cam 011 and Cam 012 - Frame 801 - 825 - 1 sec - 33 secs
Close Up of Max's face and frame.
Close Up of Max's face and frame.

Scene 009 Unleash Spell
Cam 013 - Frame 826 - 875 - 2 seconds - 35 secondsMax shoots a beam at the frame

Scene 010 Frame Hit and Shatters
Cam 014 - Frame 876 - 950 - 3 seconds - 38 secs
Beam hits frame - Frame shatters in a bright light
Cam 014 - Frame 876 - 950 - 3 seconds - 38 secs
Beam hits frame - Frame shatters in a bright light


Scene 011 Bright Light
Cam 015 - Frame 951 - 1025 - 3 secs - 41 secs
Bright light shines in Max's face
Cam 015 - Frame 951 - 1025 - 3 secs - 41 secs
Bright light shines in Max's face


Scene 012 Sillouette
Cam 016 - Frame 1026 - 1125 - 4 secs - 45 secs
Max reaches out for his father
Cam 016 - Frame 1026 - 1125 - 4 secs - 45 secs
Max reaches out for his father
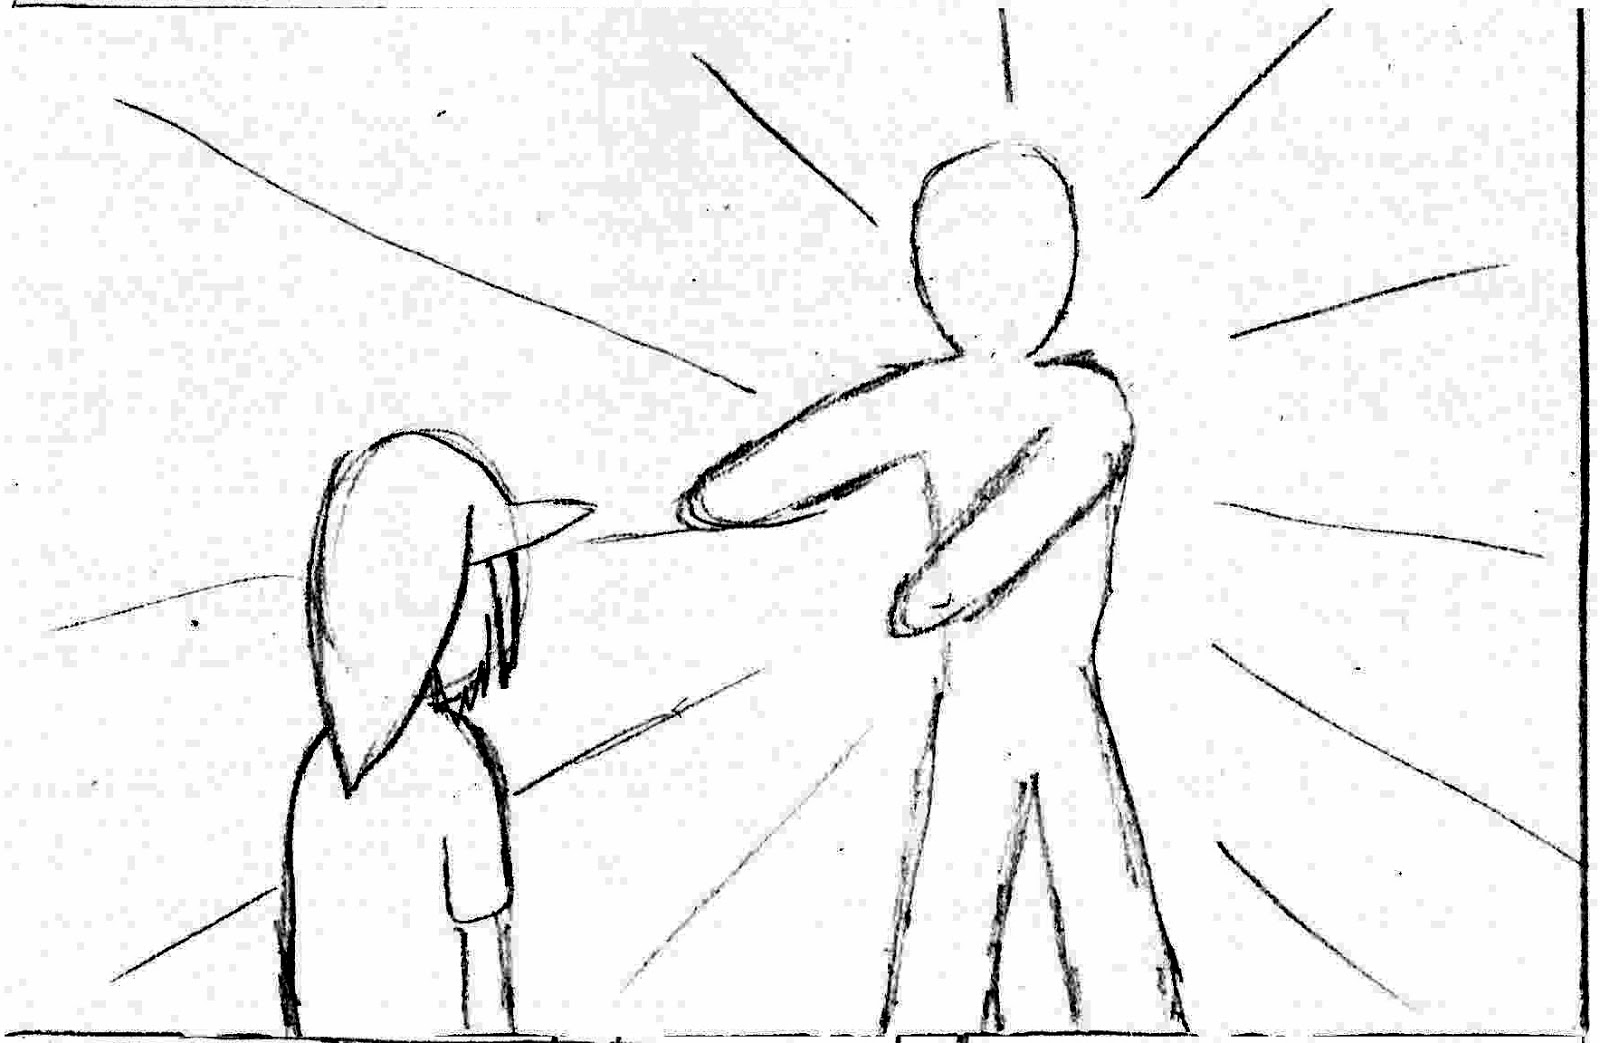


Cam 017 - Frame 1126 - 1200 - 3 secs - 58 secs
Ghost dissappears as Max slumps his shoulders.


Scene 014 Determined
Cam 015 - Frame 1201 - 1275 - 3 secs - 51 secs
Max looks up determined and grips his wand
Cam 015 - Frame 1201 - 1275 - 3 secs - 51 secs
Max looks up determined and grips his wand


Character Design

First I created guides using charcter sheets in my viewports within 3DSMax

I created a cylinder and molded it into the body shape using the edge loops and the viewport guides.

I created another cylinder to serve as the beginning of the arm and molded it into the arm shape.

I then joined the arm to the body.

Next I create another cylinder and shape it into a leg.

I then cut the model in half so that it can be mirrored later. I also form a set of polygons that will serve as the area between the legs.

I join up the leg and smooth out the edge loops, adding more when needed.

Next I create a box that will serve as the models foot and shape it accordingly.

I join up the foot and smooth out the polygons.

I create a box shape that will serve as the hand.

Next I create a cylinder that will become the first finger.

I then clone the fingers and join them to the hand.

The finalised hand is then joined to the body.

A symmetry modifier is added.

I create a sphere for the head and ajust the verticies to the correct shape.

I move vertices to get the rough shape and position of the eye.

I extrude into the eye to create the eye socket and mold the nose from the verticies.

I then extrude the polygons that will become the ear.

The ear is finalised.

I add some finer detail to the nose and nostrils.

I move vertices and cut into the model to shape out the mouth.

I join the head to the body of the model.

I extrude some polygons and form the basis of the characters hair.

I clone the hair further and copy it around the head.

I then create a sphere, place it inside the eye socket and clone another for the other side. I then created a small eye texture file in Photoshop and apply it to the eye models.

I then create and export the UVW map after I unwrapped the characters head.

I then fill this UVW map with painted textures on photoshop.

I can then bring in my simple UVW unwrap texture and add it to the models head.

I add eyelids by cloning the eyes and scaling them out slightly. I then added the skin texture. I used this opportunity to update the eye texture in photoshop.

I next unwrap the body using the unwrap UVW modifier.

I add the body texture to the model.

I then clone the head and create some morph targets that I can use to animate Max's facial expressions.

I add a skeleton to the model using bone tools to start of creating a rig for Max.


I add bones for the hand and fingers.
 I add an IK chain to each foot to control the way the bones move and bend.
 I then set up point controllers that will be used to control the way the feet move.
 I then rigged the rest of the skeleton in a similar way
 I weight mapped the character to allow for correct deformation when he moves.
 I tweaked the lighting set up within my scene
 I animated my character and scenes in accordance with my story boards.
I then rendered out my frames
I composited my frames together with audio I had recorded and sourced
Finally, I exported my final project


I then rendered out my frames
I composited my frames together with audio I had recorded and sourced
Finally, I exported my final project
Final Exported Animation
Evaluation Report
In this evaluation report I will go over the strengths, weaknesses
and areas I should work on to improve my working practice for the future in
relation to my recent 3D animation project, ‘Do It Yourself in 3D’.
My first task was to create a brief for myself to follow,
guidelines for the project that I would be creating. I selected the opportunity
to make a short 3D animation that was designed for a showing at a fictional
animation festival. Normally I feel quite confident in my writing skills, but
the brief took me off guard. I had to tailor my brief for my chosen subject,
but I found the process quite difficult because of the sheer scope of the task.
I overthought it too much I think as I was trying to think ahead to the project
design phase and this just ended up confusing me when I was writing up my
project brief. In a way, I think I was trying to tailor my brief for the
project I had envisioned in my head, instead of using my brief as a guide and
as the foundations of the project. Another point I should make, within my brief
as my inspirations for the project, I only made use of Disney/Pixar films as an
example. In a subsequent redraft, I changed this to an animation festival
winner Patema Inverted, as this
seemed more appropriate in relation to my project.

Image
001: Patema Inverted (2013)
After a few redrafts, I was eventually happy with my brief for the
project. When I next have to write a project brief, I will be more confident as
I now have experience and know what to expect.
I then got off to a good start with my pre-production on the
project. I was determined to try my best to have a solid foundation to work
with from the outset of the project so that I could make the most of my time. I
am pleased with the direction my research took me. I had chosen to create a
short animation about a small boy who casts magic spells, which gave me a
wealth of research possibilities such as magic itself, wizardry, magicians,
illusionists and other trickery.

Image
002: Magic Mood Board
As most people will say, to
make my pre-production even stronger, I would have preferred to have more time
in this stage, but I was conscious of the deadlines so had to move on with my
production.
My character design came along very well too. I had a rough idea
of what my character Max would generally look like, but using research images
as a reference, I honed him down by drawing lots if pictures and selecting the
best aspects of each one which I collated together to form the final character
designs.

Image
003: Character Idea Generation
There came a time near the middle of my production when there was
a lot of discussion about our looming deadlines and the chances of meeting
these timescales effectively and it was a general consensus that these could
not be effectively met in the time we had remaining. Coupled with a heavy
workload from other classes and little time to work on my project from home, I
agreed. Thankfully, following a review meeting with the department head and the
head lecturer, an arrangement was made to push back the deadlines and ease the
workload. This arrangement gave me lots of time to complete my animation project
as the deadlines mere pushed back until then end of January instead of
mid-December, and I feel I used the remaining time effectively and met my new
deadlines.
My biggest flaw in my working practice on this project absolutely
comes down to the fact that I set my sights too high. I had a huge vision of
what would happen in my final film and tried to condense this into the space of
45 seconds. I learned the hard way that for this particular project, that was
not enough time. I constantly felt like I was compressing my thoughts to make
it fit into the time I was allotted. In essence, I feel that my final animation
would make a bit more sense and have a bigger impact if the scenes in the film
were permitted to last slightly longer.
I know I managed my time efficiently for this project however, as
I was on top of the deadlines I set for myself throughout and kept my blog work
up to date as I went which meant I didn’t have to double back on myself near
then end.

Image
004: Example of blog work
My technical skills have significantly improved since last year
and I found the production stage of my project went along very smoothly. I
don’t recall ever being stuck at any stage as I was on previous works and I
consistently met my development goals.

Image
005: Technical experience
An area I feel that I didn’t work on as much as I intended was
with colour. When I was writing my brief for the project, I fully intended to
use colour theory as a tool for expressing emotion in the animation, used in
conjunction with my characters facial expressing and body movement. I had
wanted to have the colour tones and lighting change hues depending on the
character’s mood at the time. Although I did some experiments with the lighting
set up when I was creating my scene, for some reason the colour changes seemed
to detract from the mood of the film overall and were more distracting than
anything, so I removed them.
In conclusion, for the ‘Do It Yourself In 3D’ project, I feel I
have really benefited from previous project experience have utilised the skills
I learned there in a positive way. With the exception of when the deadlines
were moved back, I have continually met all of the deadlines that I have set
for myself and handed my completed project in on time. In fact, at the end of
the project I was actually ahead of schedule which gave me some time to refine
my edits, and add in some special effects such as wand sparks.
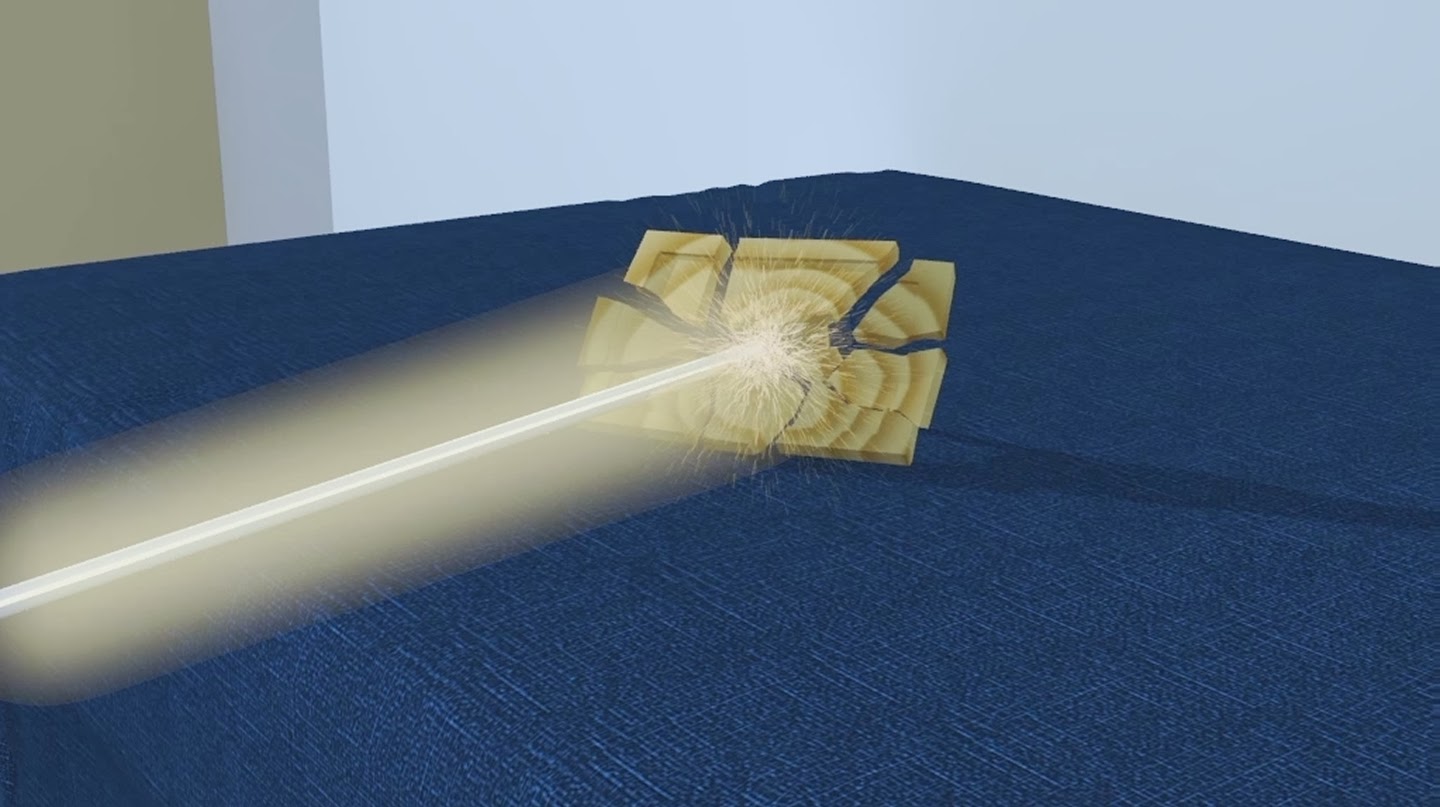
Image
006: Wand Sparks
My final product actually achieved more than I was hoping for. I
am more than happy with the way that it turned out and I think I have stuck by
my planning for the most part which solidifies the need for effective planning
in my future projects.

Image
007: Tricks Final Render
Moving forward into my next project, I will continue to adhere to
my own schedules to meet the deadlines. I will try to explore ideas further in
pre-production to make sure I am getting the very best out of them before I
move on to production.
Finally, I will keep my project ideas in line with the product
request. In Tricks I came up with a
story that would have benefitted with longer screen time and although I think I
did a good job this time around in fitting the story together in a way that is
understandable, this may not be possible next time so I will keep this in mind
when I move on to my next animation project.
Image References:
Image 001: Patema Inverted (2013) Available at: http://www.lovesanimation.com/wp-content/uploads/2013/08/Patema_sab3-930x300.jpg
Accessed 18/12/2013
Image 002: Magic Mood Board, Created by David Young, Images
Available at:
1.
Magic Wand with Sparkles – Accessed 25/09/2013 - http://www.royalhigh.edin.sch.uk/departments/departments/cdt/ahgc_0708/various/mark_wand1b.jpg
2.
Tinkerbell – Accessed 25/09/2013 - http://images2.fanpop.com/images/photos/6200000/Tinkerbell-Wallpaper-tinkerbell-6227161-1024-768.jpg
3.
Vivi – Accessed 25/09/2013 - http://www.paperspencils.com/wp-content/uploads/2012/07/final-fantasy-ix-vivi-wallpaper-magic.jpg
4.
Lego Gandalf – Accessed 28/09/2013 - http://www.minifigure.org/wp-content/uploads/2011/05/wizard_s.jpg
5.
Lego Harry Potter – Accessed 25/09/2013 - http://mentalgamers.files.wordpress.com/2011/09/lego-harry-potter-5-7.jpg
6.
Harry Potter – Accessed 25/09/2013 - http://www.empireonline.com/images/features/100greatestcharacters/photos/36.jpg
7.
Magic Circle – Accessed 25/09/2013 - http://jayperoni.com/wp-content/uploads/2010/07/magic.jpg
8.
Card – Accessed 25/09/2013 - http://www.softwarecraftsman.org/_/rsrc/1226071718375/Home/magic-trick/iTunesArtwork.png
9.
Magic Hat and Wand – Accessed 25/09/2013 - http://ipfactor.files.wordpress.com/2011/11/magic-trick.gif
10.
Presto – Accessed 25/09/2013 – http://www.thepixarpodcast.com/wp-content/uploads/2010/10/presto025in6.jpg
11.
Magic Hat – Accessed 25/09/2013 - http://upload.wikimedia.org/wikipedia/en/1/1f/Magic_Wizard's_Hat_(icon).png
12.
Merlin_official.jpg – Accessed 18/09/2013 - http://images1.wikia.nocookie.net/__cb20120320065321/disney/images/5/56/Merlin_official.jpg
13.
Merlin Old.png - Accessed 18/09/2013 - http://images4.wikia.nocookie.net/__cb20120211004023/merlin1/images/3/33/Old-Merlin_series4promo.jpg
14.
Gandalfthegrey - Accessed 18/09/2013 - http://static.comicvine.com/uploads/original/7/72648/1716330-gandalfthegrey.jpg
15.
Wizard12.gif – Accessed 18/09/2013 - http://www.exponentcms.org/files/WIZARD12.GIF
16.
Derren Brown – Accessed 19/08/2013 - http://www.theatrepeople.com/sites/default/files/Derren-Brown-2.jpg
17.
Dynamo – Accessed 19/08/2013 - http://i.dailymail.co.uk/i/pix/2012/06/28/article-2165482-13D4E4BE000005DC-231_634x440.jpg
18.
Wand – Accessed 21/09/2013 - http://www.magicbox.uk.com/media/catalog/product/cache/1/image/9df78eab33525d08d6e5fb8d27136e95/m/a/magic_wand.jpg
19.
Star wand – Accessed 21/09/2013 - http://blisshabits.com/wp-content/uploads/2011/11/Magic-Wand.jpg
20.
Magic Hand – Accessed 21/09/2013 - http://www.benzo-fury.me.uk/images/magic.jpg
Image 003: Character Idea Generation: Created by David Young
Image 004: Example of blog work: Created by David Young
Image 005: Technical experience: Created by David Young
Image 006: Wand Sparks: Created by David Young
Image 007: Tricks Final Render: Created by David Young
No comments:
Post a Comment